Kombucha is a delightful fermented tea drink with tons of probiotic health benefits. It is easy to make and flavor. It doesn’t take a lot of time to make or space in your kitchen. Kombucha is a great way to get into fermentation and crafting new beverages at home. That’s right, Kombucha is fermented sweet tea. That means it pulls bacterial out of the air, as they grow, they create a seal on top of the tea called a scoby. This scoby then feeds on the sugar in the tea and transforms it into a tangy probiotic rich drink that can benefit your gut biome.
This post is not meant to provide the science around the formation of the scoby or what is happening during fermentation. Instead, we are just going to focus on getting to the good stuff and brewing your first batch of Kombucha at home! First, you are going to need a few pieces of equipment. Luckily they are inexpensive and easy to find.
Disclaimer: This blog post does contain affiliate links that I get paid for if you use them. However, do not feel obligated to buy anything that is linked here. You can use them merely as examples of the items that can be used and source your own materials.
Items that you will need to make Kombucha:
- Large fermentation jar or crock – I use 1 gallon jars. The math for mixing Kombucha is simpler when using a gallon versus smaller containers, plus I feel like I can comfortably drink a gallon of Kombucha before the next batch is done fermenting.
- Home brew bottles or caning jars – You will need 8 to 10 home brew bottles or jars for storage or the second fermentation step which provides flavor.
- A kombucha scoby – I find that buying your first scoby is the easiest way to get started. Finding unflavored raw kombucha can be hard and building the scoby can take time and fail. Buying a scoby from a reputable source can help you jump right into the fun part.
- Sugar or honey – This will help feed the scoby throughout the fermentation period. Of course we recommend that anything you consume should be organic
- Black tea – You can use other types of tea to make Kombucha, however, black tea is readily available in most places in the US.
- Cotton tea towel – this is used to cover the fermentation jar
First thing first, You will need 4 cups of boiling water, 8 tea bags, and 1 cup of sugar or honey. I like to use an electric kettle for boiling the water. I find that it really heats up fast and I can mix the other ingredients in a bowl that will cool down faster than a pot on the stove. This helps to save a bit of time when assembling the kombucha mixture. Mix these ingredients and allow the tea bags to steep for 20 minutes before removing them from the sweet tea. Let the sweet tea completely cool.
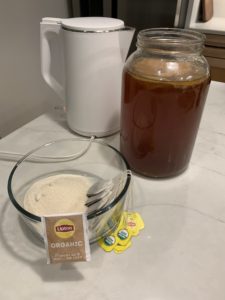
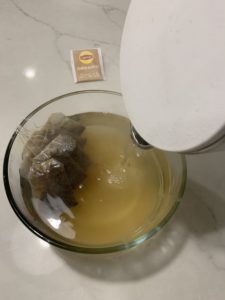
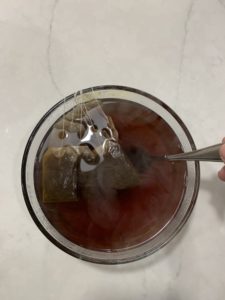
Now it is time to assemble the kombucha. Yup, it is that easy to get started! Pour 10 cups of water into the glass fermentation jar. Make sure that the tea mixture has completely cooled. If it has not, you could run the risk of cooking or damaging your kombucha bacteria or your scoby. Once the sweet tea has been added and it has cooled, you can add the scoby liquid or some of the kombucha from the last batch that you have made. I usually add two cups of kombucha from the last batch. This keeps the scoby going strong. Fill the container with water until you have 16 cups of liquid.
You may be wondering why 16 cups is so important, well it is because of how you will likely want to store the kombucha later on. I use the home brew bottles. They hold about 2 cups of kombucha and still have room for fruits, spices, and headroom. Subtracting the 2 cups for the next batch leaves you 14 cups. This divides evenly and easily into your bottles. By using a measuring pitcher, you will easily and quickly divide up the fermentation jar into smaller storage bottles.
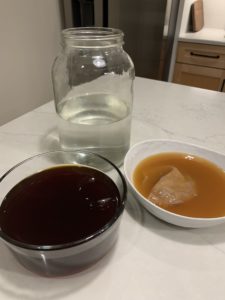
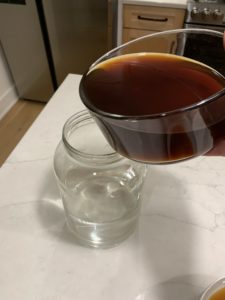
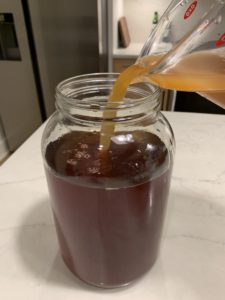
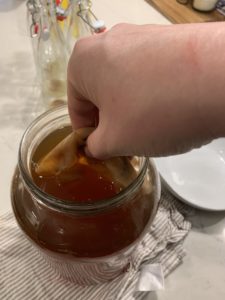
Lastly, float the scoby on top of the liquid. This will help it begin the process of covering over the top of the liquid and begin fermentation. At this point, the only thing left to do is cover the fermentation jar with a tea towel and secure it. I use a hair tie to secure the towel to the jar. Do not use a solid lid. You need the scoby to have access to fresh air. The towel allows the scoby to breathe but stops things from falling into the tea during fermentation.
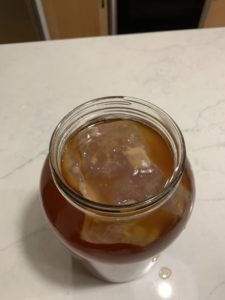
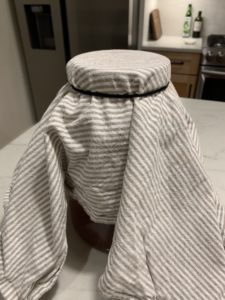
Place the fermentation jar in a place that will not get too warm or too cold. You want to shoot for a temperature that is between 65 and 75 degrees. This will ensure that the scoby and probiotics are happy and healthy throughout the fermentation period. If the area is a bit on the cold side, the fermentation could take longer. The inverse is also true, if the mixture is on the warm side, it could shorten the fermentation period. I generally let my kombucha sit for 3 to 4 weeks but some folks can have the first fermentation complete in 7 to 10 days. You can sample your kombucha by sneaking a straw past the scoby on one side. Then seal the top of the straw with your finger and pull the straw back out. This gives you a little taste of what the kombucha is like, without disrupting the fermentation process.
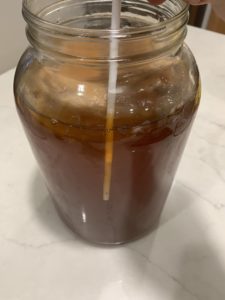
If you like it with more tang, you can ferment longer. The fermentation period is really up to you, but making sure you let it sit for at least two weeks will help ensure that some fermentation has occurred and there will be some probiotic properties present. Otherwise you are just having sweet tea.
After the first fermentation, you can enjoy your kombucha raw, or you can flavor it during a second fermentation. We will be covering the second fermentation in another recipe (Flavoring Kombucha). When you have tasted your kombucha and you are happy with it. Gently lift out the Scoby and reserve 2 cups of kombucha. Pour the remaining Kombucha into jars and store them in your refrigerator. Repeat the steps above to start your next batch!
Happy brewing! I hope you enjoyed this recipe. If you have more details to share, please comment them below. There are so many ways to make and use kombucha, I am always open to learning more!
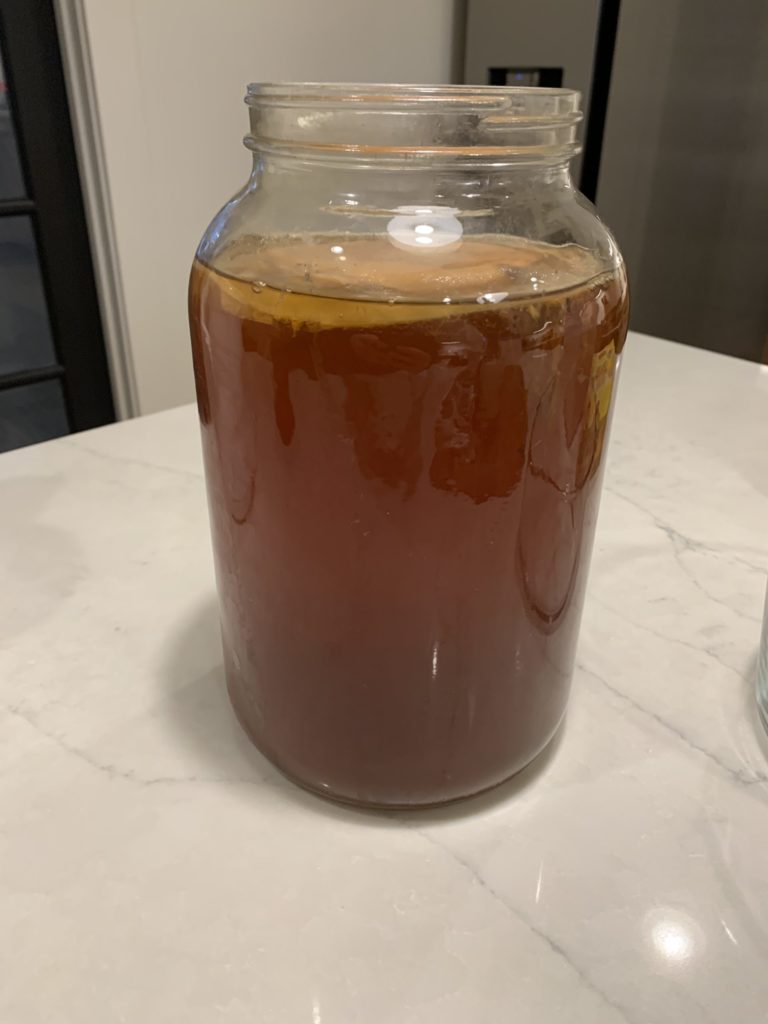
Easy Kombucha
Description
This recipe will show you an easy way to get started making kombucha at home. From this recipe you can explore different flavors and methods that fit your taste and lifestyle.
Ingredient List
Instructions
-
Make Sweet Tea
Bring 4 cups of water to a boil. Mix 1 cup of sugar with the boiling water until the sugar dissolves. Add in the black teabags and steep for 20 mins. Remove the tea bags and let the tea come to room temperature.
-
Assemble The Kombucha
Once the sweet tea has cooled, mix 10 cups of water with the sweet tea in the fermentation jar. Add the kombucha scoby and the scoby liquid.
-
Cover And Ferment
Once the kombucha has been assembled. Cover the fermentation jar with the cotton towel and secure it with a rubber band or tie. Do not seal the jar with a lid, you need the scoby to be able to have access to fresh air. Ferment the tea in a dark place that maintains a temperature between 60 and 70 degrees Fahrenheit. If stored in a colder location, fermentation may take longer. If stored in a warmer location, then fermentation time may be shorter.
-
Store or Secondary Fermentation
Once the kombucha has fermented to your liking. Gently remove the scoby from the kombucha. Reserve 2 cups of kombucha for the next batch. Pour the remaining kombucha into jars for storage. At this time you can add fruits or spices to flavor the kombucha. If continuing with the secondary fermentation, Let the bottle sit for two days before moving them to a refrigerator for storage.
