Flavoring kombucha at home is easy. So much so that if you have already done the first fermentation, then the second fermentation will be a breeze. You can flavor kombucha with almost anything. Kombucha can be flavored with sweet ingredients like fruit or savory ingredients like spices or herbs. Exploring different flavor combinations is fun and exciting. If you have not read our previous post on how to make Kombucha at home, please read it here before continuing.
Quick kombucha overview
First, lets do a quick recap. Many other blog posts use terms like first fermentation, second fermentation, carbonation, and it all sounds really difficult and over whelming. I would like to simplify what this means so that you can feel confident with the process and in knowing what the various steps are doing.
First Fermentation: This is the process of brewing the sweet tea, and placing the scoby and starter liquid in a fermentation jar. This mixture will need to sit until you feel that the kombucha has developed the flavor or tang that you want. That process of sitting is the first fermentation period. What is happening is the kombucha bacteria and yeast are consuming the sweet tea and creating vitamins, amino acids, ethanol, and other probiotics. These items are what gives kombucha its distinctive taste.
Second Fermentation: This is the period where you will add in some additional sugar. Sometimes this is in the form of fruit, honey, or granulated sugar. Here is where your desired flavor profile is developed. In the recipe below, We will be creating a really simple apple pie recipe. The major change from the first ferment to the second is the second ferment uses air tight bottles. The air tight bottle will seal in the gasses created by the bacteria. This will give the kombucha carbonation or bubbles!
The tools you need to flavor kombucha
Time to get started, In this quick and easy apple pie kombucha you will need:
- Home brew bottles or caning jars – You will need 6 home brew bottles or jars for storage or the second fermentation step which provides flavor. Each will need to hold 2 cups of liquid.
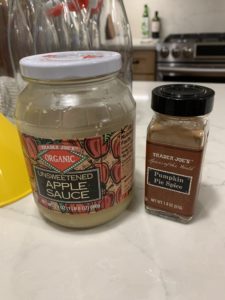
- Unsweetened Apple Sauce – I prefer the unsweetened variety since I think the apples alone give this drink enough sweetness. If you have sweetened, no big deal, you may just have more bubbles!
- Pumpkin Pie Spice – This is one of those premixed spices that you can find in the baking aisle at your local grocery store. If you don’t have it, then you could get close with some ground cinnamon, ground cloves, and ground ginger.
- Funnel – This is a must-have when pouring liquid into the home brew bottles. I made a mess when I tried to do it with out it. If you are using canning jars, you may be able to just use a measuring pitcher.
- Measuring pitcher – Although you don’t have to use precise measurements, It is helpful to know how much you are putting in each jar. It also makes it easier to pour from the fermentation jar into a pitcher rather than straight into the bottles.
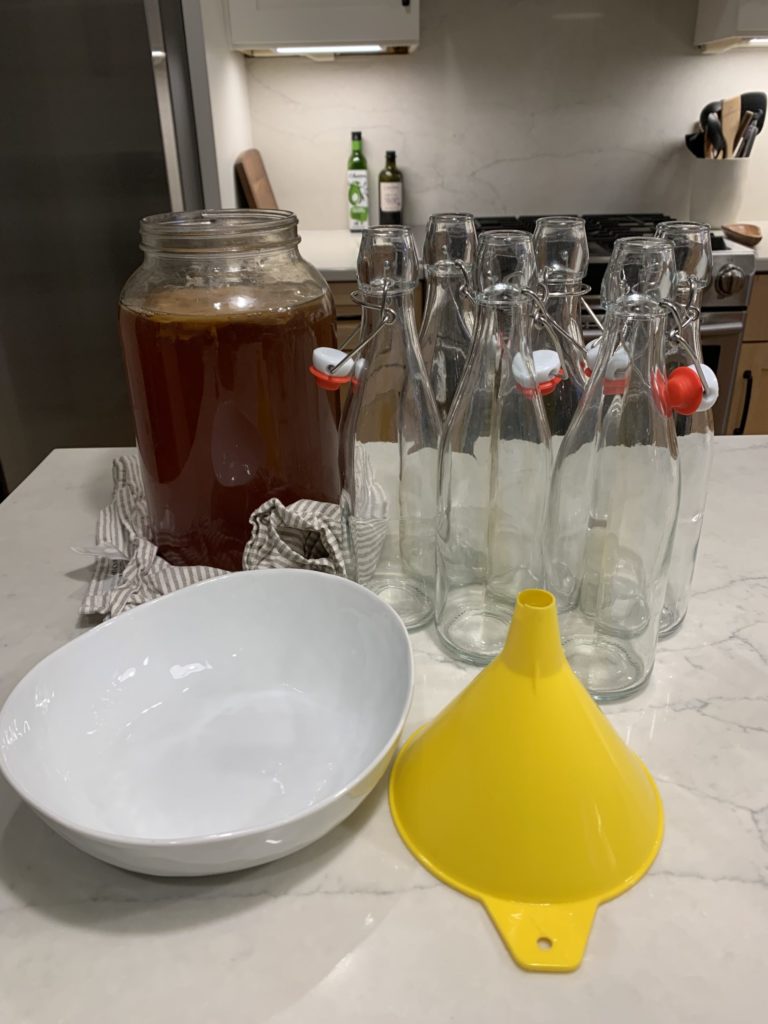
Notes about this recipe, it is not overly spicy or sweet. It tastes more like apple juice or apple cider that you would find in the fruit juice aisle. The flavor is subtle and easy to drink. The tartness of the kombucha pairs well with the apple flavor and the spices. This recipe is great in cocktails or by itself. I hope you enjoy it as much as I do.
Flavor kombucha with the second fermentation!
To flavor kombucha with the second fermentation, take your clean jars and add in your fruit. In this case, we are using apple sauce. Add two teaspoons of apple sauce to each bottle. Then add 1/8 teaspoon pumpkin pie spice to each bottle. It is okay if these ingredients are on the sides of the bottles, they will mix together when you pour the kombucha in.
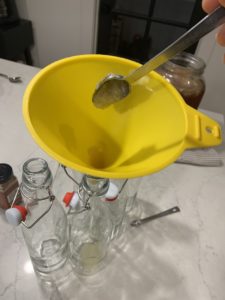
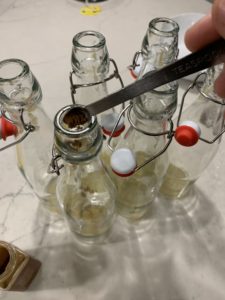
Once your bottles are ready, Carefully remove the scoby from the fermentation jar. Pour out two cups of fermented kombucha and set it aside. The scoby and liquid will start the next batch that you make. If you are not making a next batch right away you can store the scoby in this liquid until you are ready.
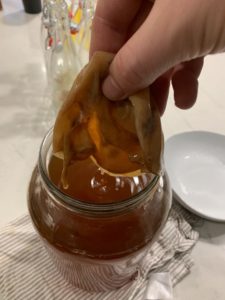
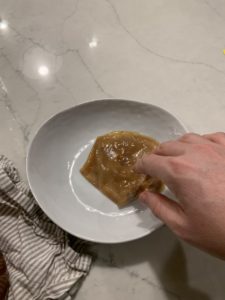
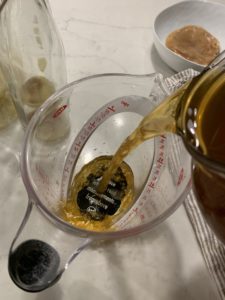
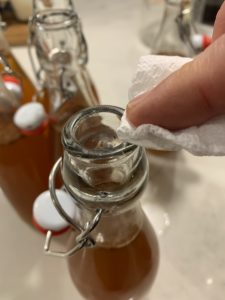
Pour out two cups of kombucha into the measuring pitcher. Then, using the funnel to guide you, pour those two cups of kombucha into the first bottle. Continue this process until all bottles have been filled. At this point, you can mix up a new batch of kombucha to go through the first fermentation again. If not, replace the two cups of the reserved kombucha and the scoby back into the fermentation jar for storage. Wipe any excess liquid or ingredients from the top of the bottles and seal them. Give each bottle a good shake to mix the ingredients together.
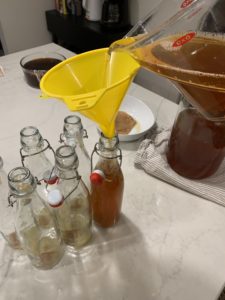
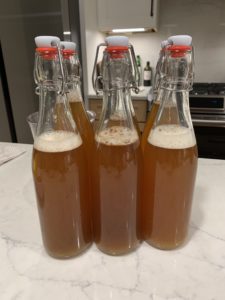
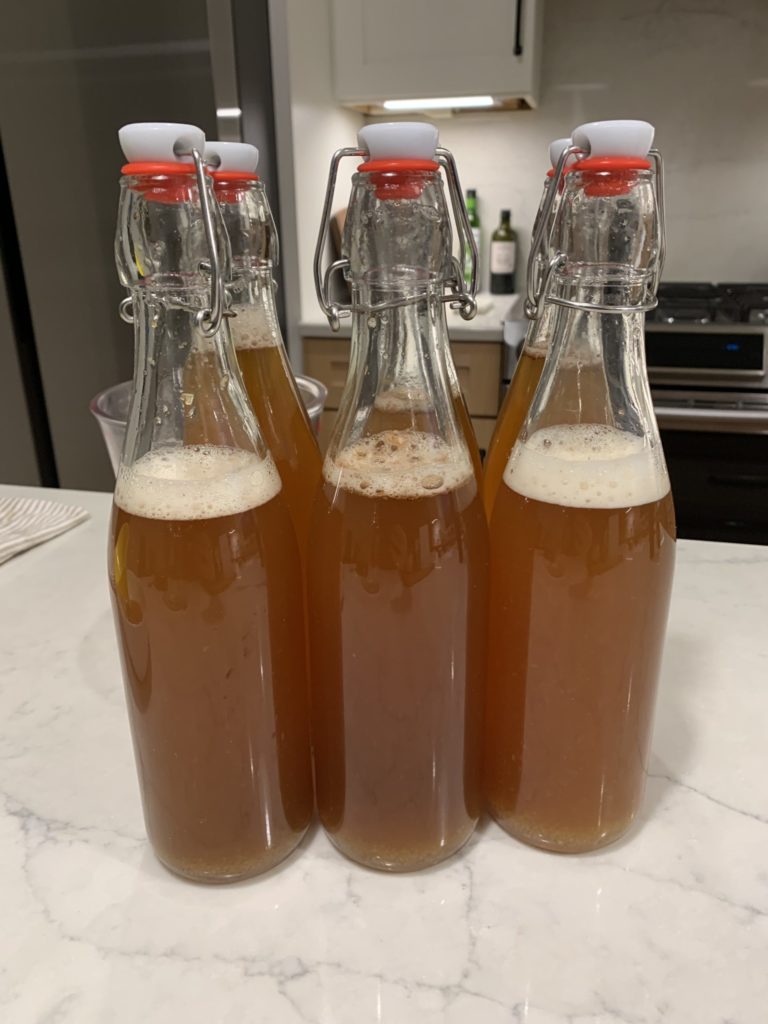
You can store these bottles on the counter at room temperature for up to 2 days before moving thing into the fridge for longer storage. During this two day period, the kombucha bacteria are going to continue to work, feeding on the newly added sugars. This will create carbonation and pressure inside the bottles. Please beware that the pressure can build and break the bottles if it is left for too long. It is a good idea to check the pressure by burping, or quickly opening and shutting the bottle to test for pressure.
When you are have pressure built up, it is a good idea to move these bottle to cold storage. This will slow down the bacteria and will help to maintain an even pressure. These can store in the fridge for up to a month, if you dont drink them first.
Enjoying your flavored kombucha
When it comes to drinking the second fermented flavor kombucha you may want to strain the liquid. It is possible that the bacteria will try to form little bits of scoby or yeast chains during the second fermentation period. Although drinking this will not harm you, it can be kind of gross feeling in your mouth.
If you try this recipe or come up with your own, please comment with the results below. I would love to hear the new versions that you come up with. Lemon ginger, raspberry, and blackberry are a few other family favorite ways to flavor kombucha. Happy Brewing!
How to flavor kombucha at home
Description
This is a really easy recipe to flavor kombucha. This makes kombucha that tastes similar to apple juice or apple cider that you would find at the store. Except it has a ton less sugar and way more probiotics. It is a great recipe for someone who is new to kombucha brewing and is just getting started with exploring new flavors.
Ingredient List
Instructions
-
Prepare the bottles
Make sure you have 6 clean bottles that will hold at least 2 cups of liquid. Also make sure you have a funnel, one 1/8 teaspoon measuring spoon, and 1 full teaspoon measuring spoon.
-
Fill the bottles with your flavoring
Add one teaspoon of applesauce to each jar. Then add 1/8 teaspoon of pumpkin pie spice to each jar.
-
Fill the bottle with kombucha
Carefully remove the scoby and 2 cups of kombucha. Set these aside. Then pour 2 cups of kombucha from the fermentation jar into a measuring pitcher. Then using a funnel, pour the kombucha into a bottle. Repeat the process until all bottles are filled. Then prepare a new batch of kombucha or replace the scoby and the remaining 2 cups of liquid back into the fermentation jar.
-
Wipe and seal the bottles
Wipe the mouths and tops of the bottles with a paper towel. Make sure that they are clean and will give a good seal. Then seal the bottles making sure the lids are air tight.
-
Store the bottles
Leave the bottle on a counter at room temperature for 2 days. This will help to create carbonation and flavor. Once you are happy with the carbonation level, you can burp the bottles if necessary, and place them in the fridge. The bottles can last in the fridge for up to a month.
